The Renault Twizy comes out of the factory with seats that are honest but plain — self-skinned foam pads moulded straight onto the shells, no covers at all, because that is how Renault kept it simple and weatherproof. The owner runs this one as a business runabout, so the car itself is a rolling advert, and he wanted the cabin to match the attention the outside already gets. The answer is one of the easiest transformations in vehicle trimming: quilted diamond-stitch vinyl bonded over the factory pads with high-temperature contact adhesive, edges pulled through and stapled off out of sight. Glue does the holding across the face, staples lock the edges — belt and braces. No frames stripped and no sewing at the bench, because the quilting arrives ready-stitched in the material. A super easy job that makes a car look a million dollars.
| Piece | Renault Twizy front and rear seat pads |
| Category | Vehicles & Campervans |
| Fabric | Black double-diamond quilted automotive vinyl with orange contrast stitching |
| Materials | 120°C high-temperature contact adhesive, staples |
The pads as they came off the car
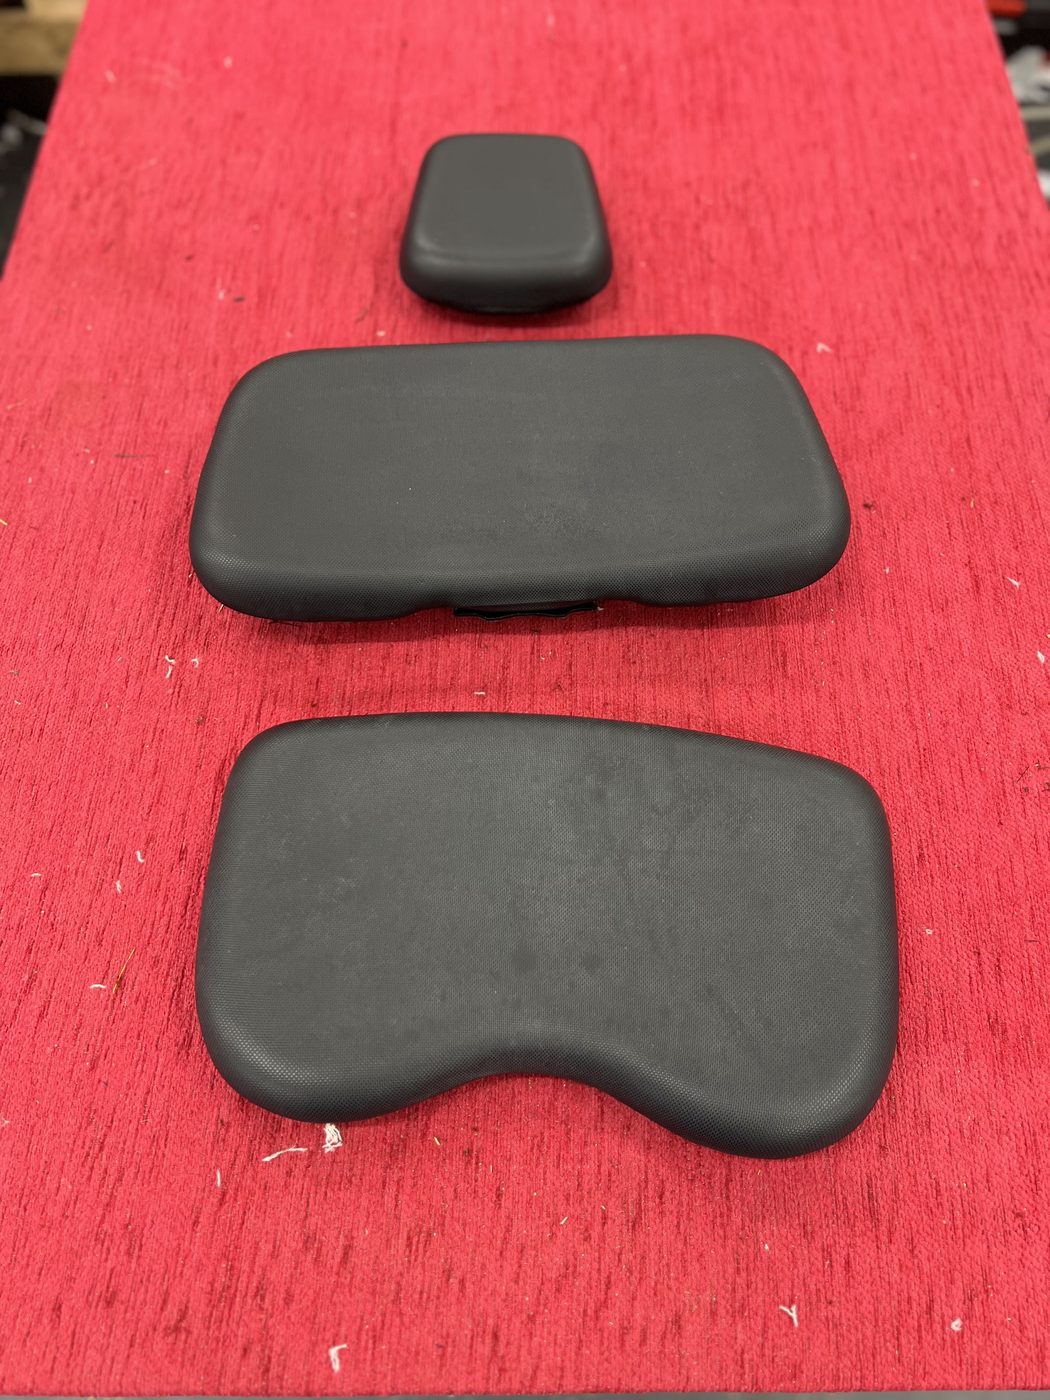
The starting point: the seat pads straight off the car, laid out on the bench. There is no old cover to strip because there never was one — each pad is self-skinned foam, moulded with its own tough outer surface. Practical, hard-wearing, and about as exciting as a wheelie bin. The skins get a thorough clean and degrease first, because half of this job hangs on how well the adhesive can grip that surface.
The front seat — one piece, headrest to base
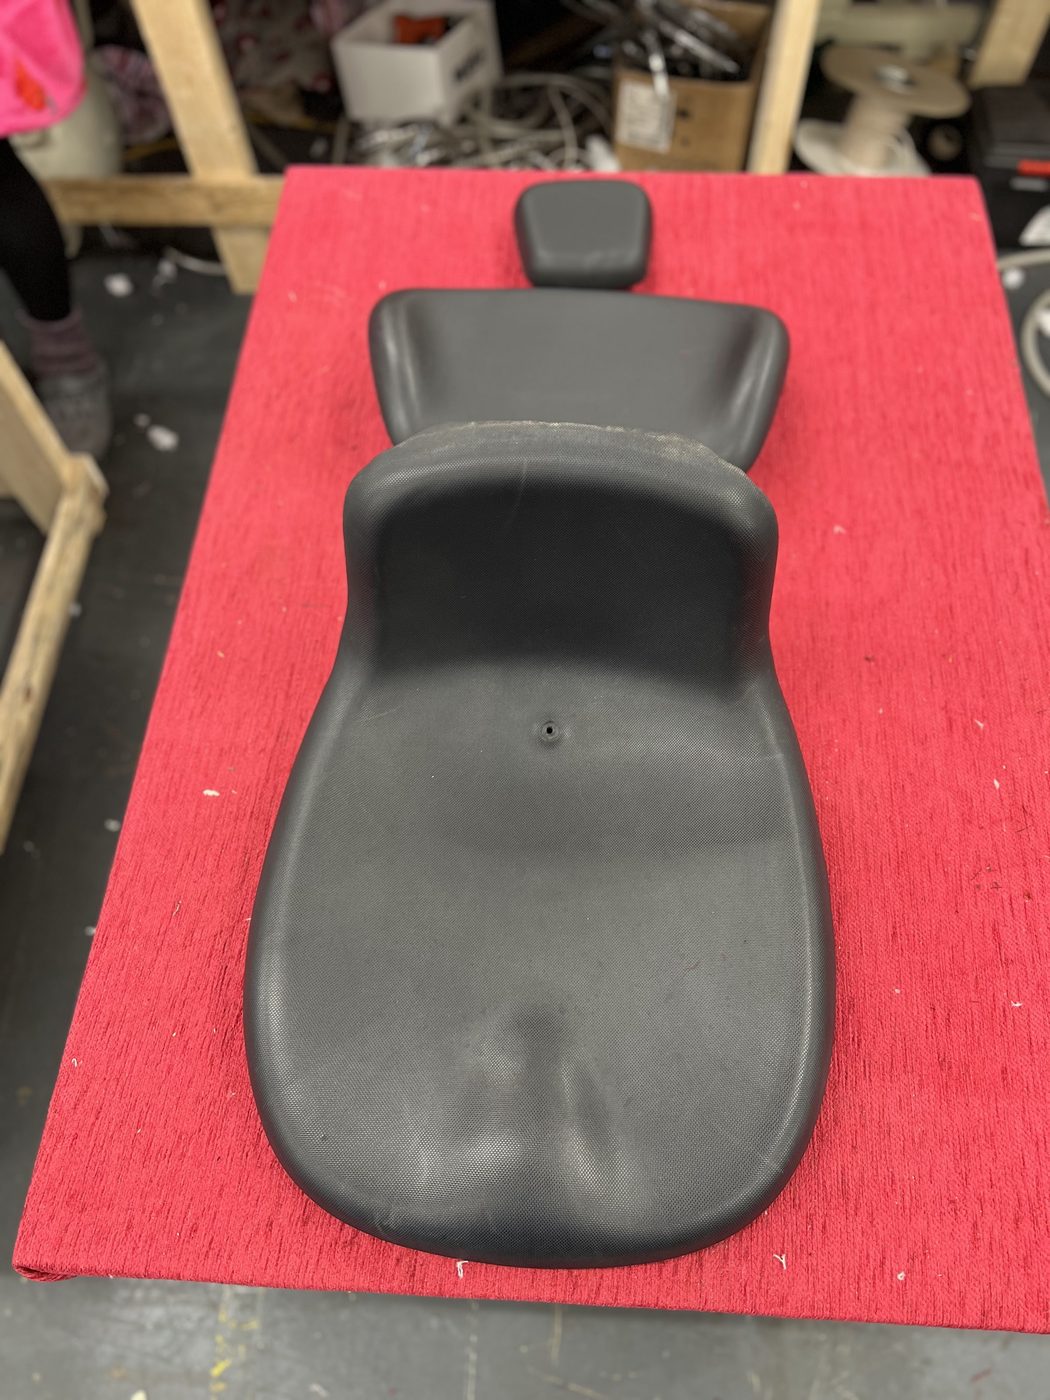
The Twizy's front seat is a single moulding, headrest to seat base in one piece, and this photo shows what the job has to work with. There is no timber frame under there and no loose cover to tension — the covering bonds to the face of the pad itself, and the edges pull through to staple off on the shell underneath, out of sight. Adhesive across the surface, staples at the returns: each doing the job it is best at.
Gluing on the new skin
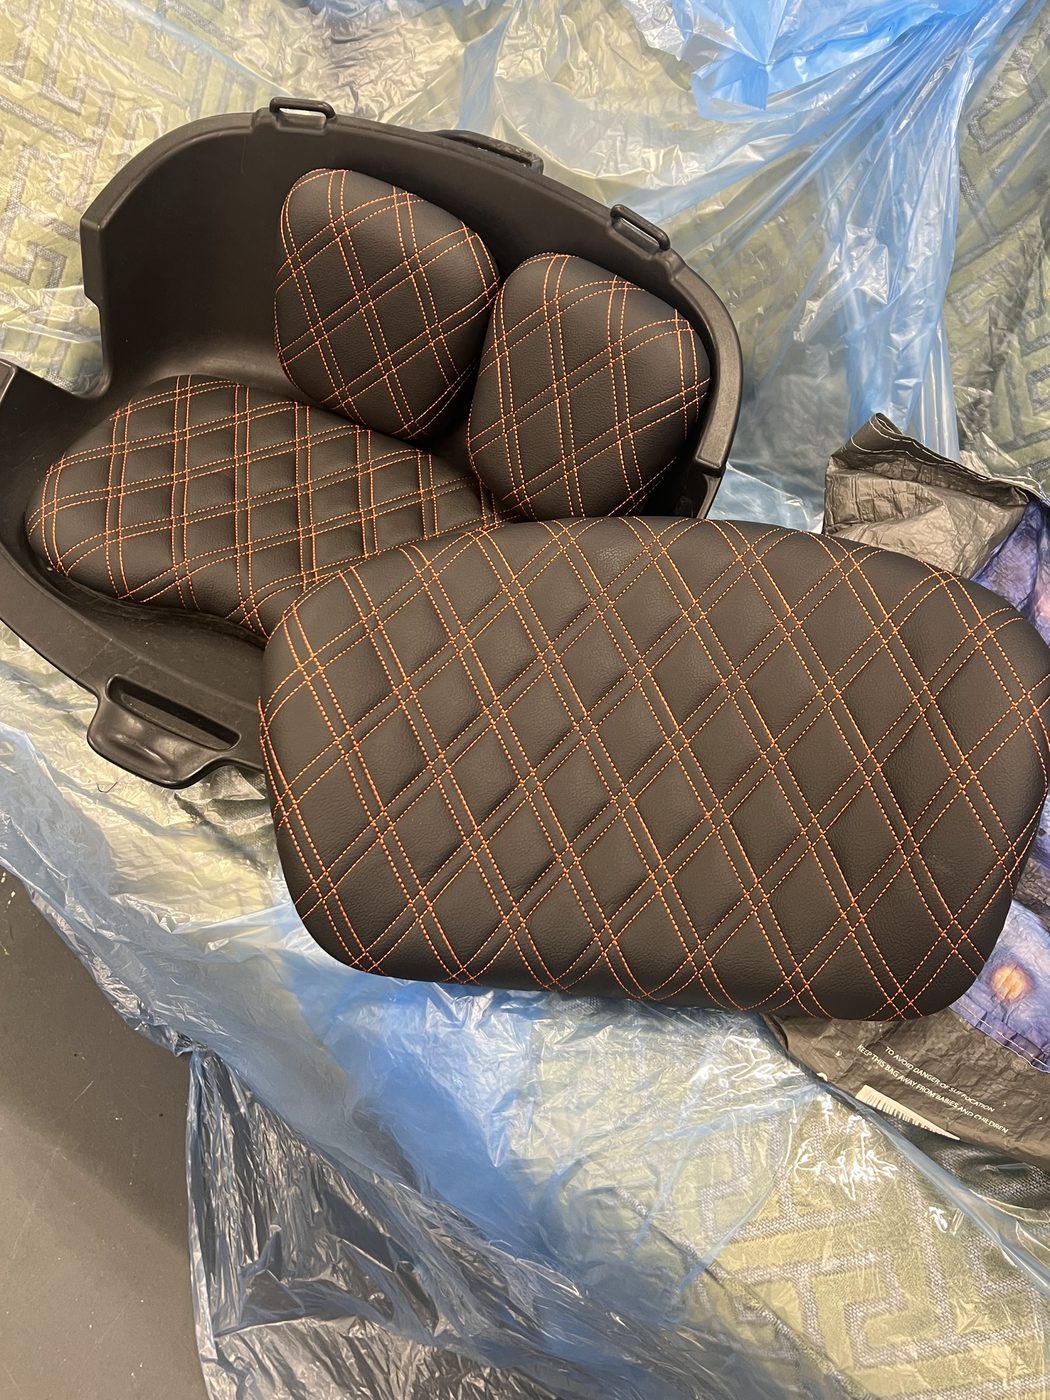
The covering is a quilted automotive vinyl with double-diamond stitching already sewn in, so all the pattern arrives ready-made in the material. Each panel is cut to its pad with working allowance, then both surfaces — foam skin and vinyl back — get an even coat of 120°C contact adhesive. The golden rule of contact adhesive applies: coat both faces, let them flash off until touch-dry, then bond. It grabs on contact, so the vinyl is laid from the centre of each pad outwards, working the quilting flat and keeping the diamond rows running true.
Stapled off and back into the shells
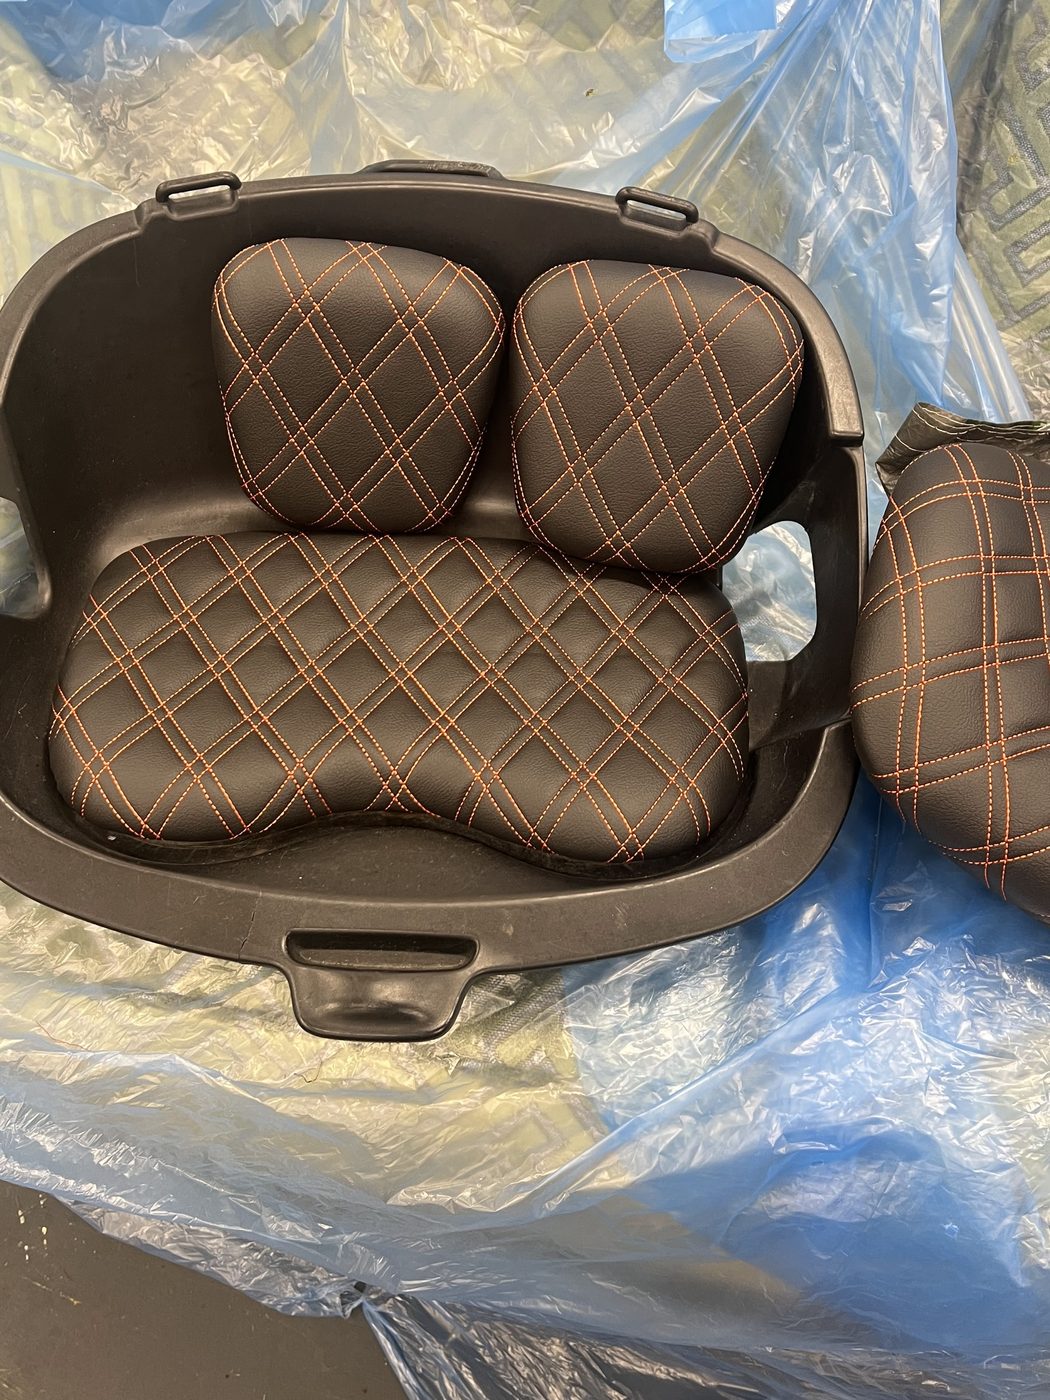
With the faces bonded, the edges are pulled through, stapled off underneath and the pads bedded back into their plastic shells — so there is no free lip anywhere for a passenger, or a hot summer afternoon, to start lifting. This is where the 120°C rating earns its money too: a parked car in the sun turns its cabin into an oven, well past the point where ordinary contact adhesive softens and creeps. High-temperature adhesive holds through it, the staples anchor the edges regardless, and between them the cover is going nowhere.
Fitted — the cabin transformed
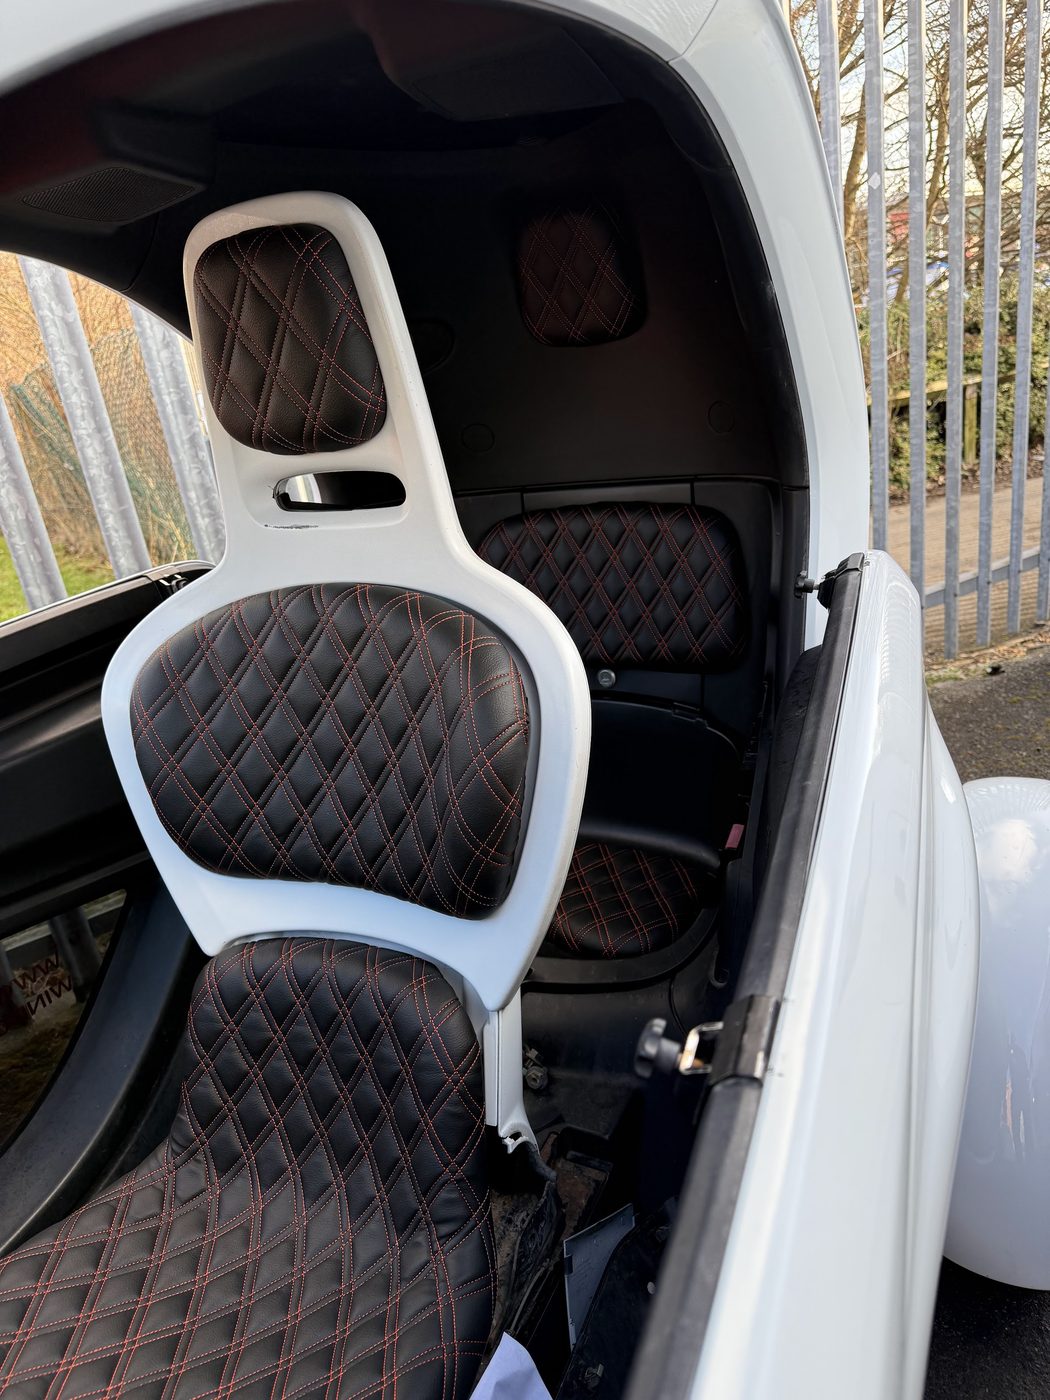
Both seats back in the car, and the whole cabin has changed character. The diamond quilting catches the light the way the flat factory foam never could, and the orange stitching picks up the Twizy's own trim colours as if Renault had planned it. Same seats, same foam, same fixings — nothing about the car has been altered except its skin.
Diamond rows running true
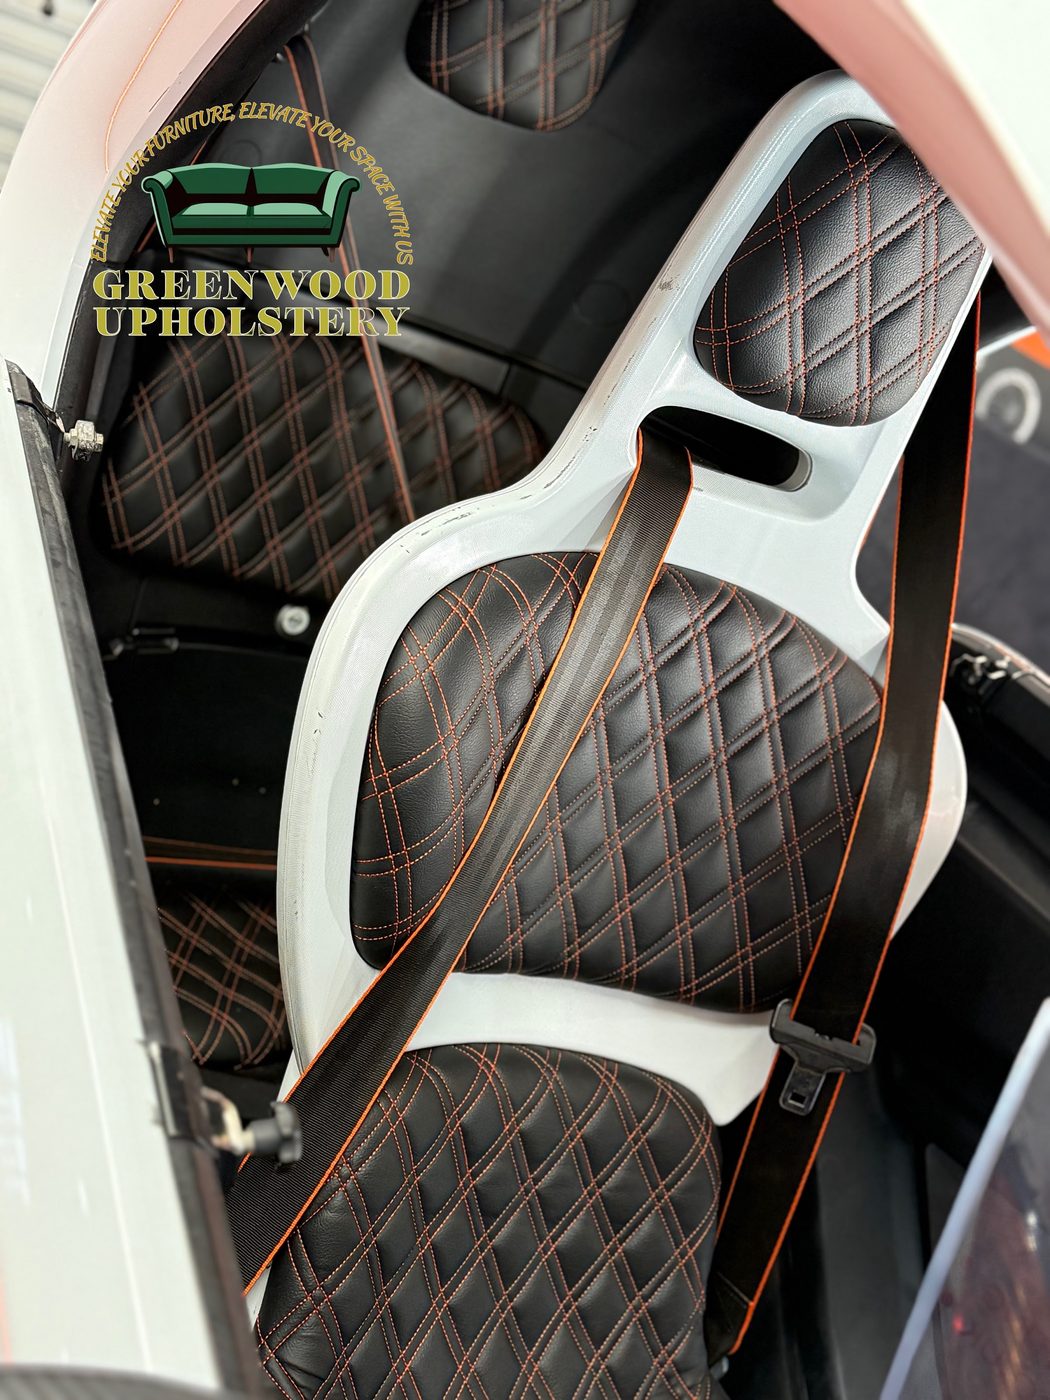
Worth a close look: the double-diamond rows lining through from headrest to seat base. On a glued job the pattern placement is decided before any adhesive comes out — once the vinyl touches a coated surface it is staying put — so the neat lines in this photo are really a photograph of the dry-fitting that happened earlier.
The finished car
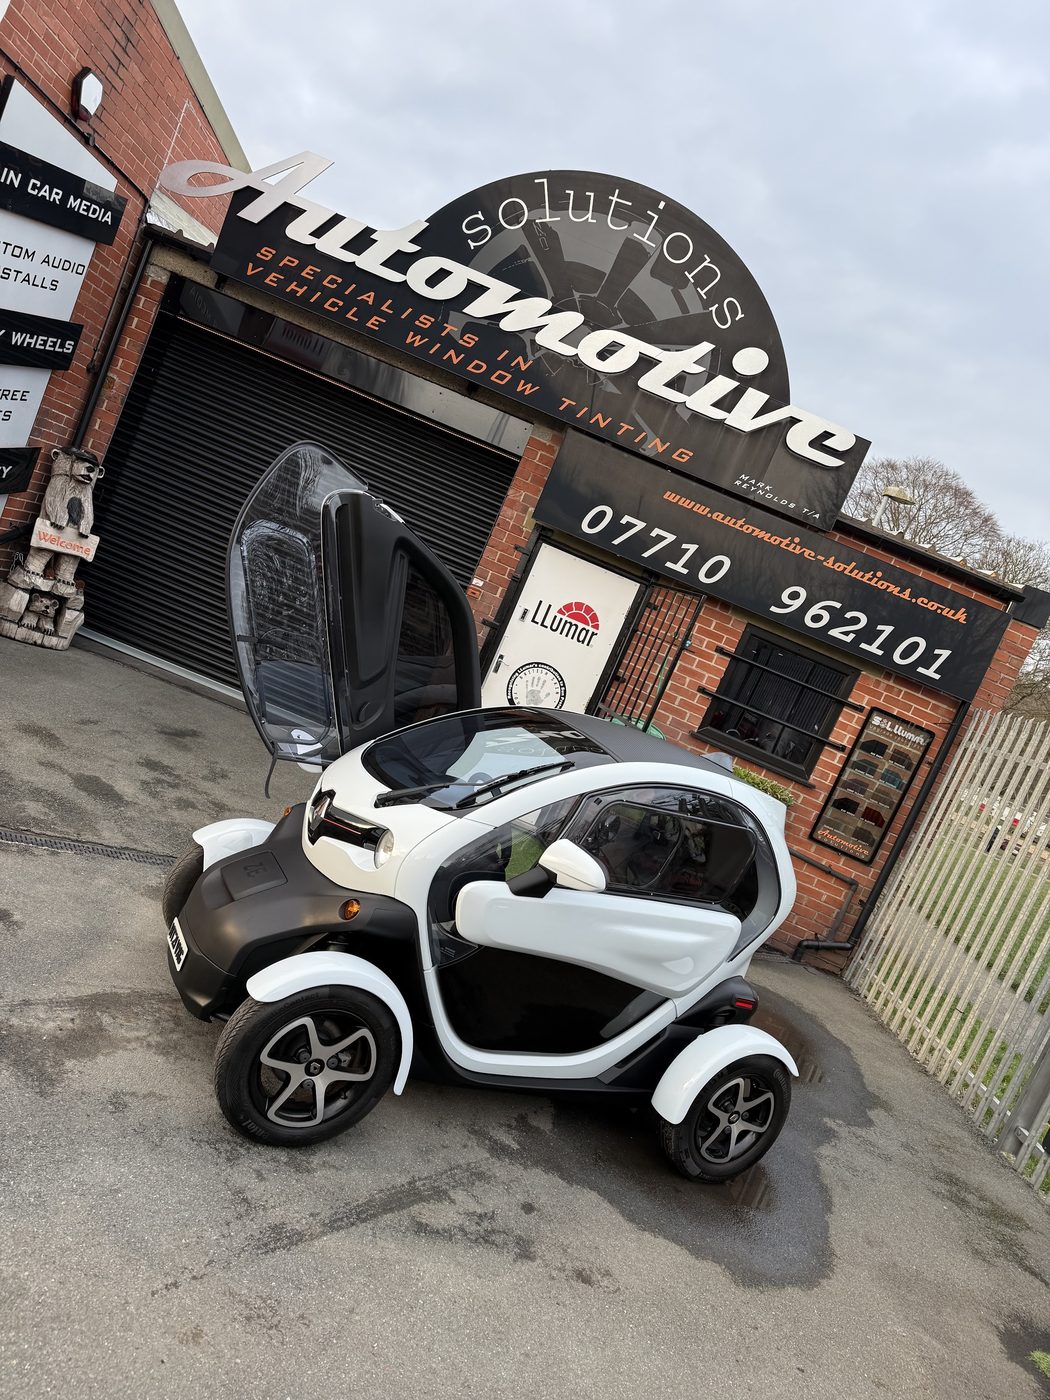
The finale: the Twizy back at the owner's premises, doors up, doing its day job as a head-turner. He uses the car to advertise his business, and the cabin now works as hard as the outside does. Total transformation, no structural work — one material, one tin of the right glue and a box of staples. The best effort-to-impact ratio of any job in this section.
The methods behind this job
Every technique used here is set out in full in the book:
Questions about this job
What glue do you use to stick vinyl or fabric to car seats?
High-temperature contact adhesive — the kind rated to around 120°C. Both surfaces are coated, left to flash off until touch-dry, then bonded together, where the glue grabs instantly. The heat rating is the critical part: the inside of a car parked in summer sun gets hot enough to soften ordinary contact adhesive, and once it softens, edges lift and covers creep. High-temperature grades are made for vehicle interiors and hold through those conditions — and on this job the edges are stapled off as well, so the glue never carries the edges alone.
Can you upholster seats that have no covers at all, like the Twizy's?
Yes — that is exactly what this job is. The Twizy's pads are self-skinned foam with no removable cover, so instead of stripping and re-covering, a new covering is bonded directly onto the cleaned foam skin and its edges are pulled through and stapled off on the shell underneath. It suits any seat with a sound, smooth moulded surface: clean and degrease the skin thoroughly, pattern the covering to the pad, glue with the right adhesive and staple the returns out of sight.
Do I need sewing skills for a job like this?
Not for this one. The diamond quilting comes ready-stitched into the vinyl off the roll, so the whole job is patterning, cutting, gluing and stapling — which is what makes it such a good first vehicle project. The skill is in the preparation and placement: dry-fitting each panel so the quilted rows run straight, and remembering that contact adhesive gives you no second chance once the surfaces meet.
How long will glued-on seat covers last?
Done properly, this is a durable finish. Automotive vinyl is made for the job — UV-stable, wipe-clean and hard-wearing — and the fixing is belt and braces: adhesive bonding the covering across its whole face, staples anchoring every edge underneath. With nothing free to peel and nothing tensioned to work loose, the failures you see on glued trim almost always come down to the wrong adhesive or skipped preparation, not the method itself.